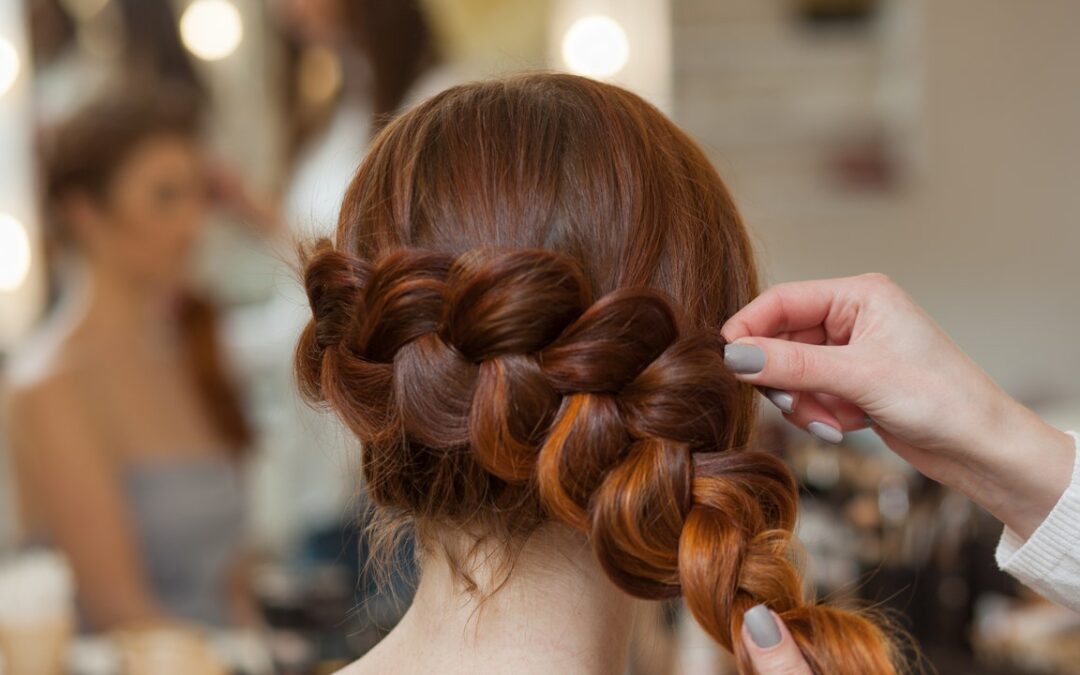
Unlike your high school French class, creating a French braid is uncomplicated. According to Los Angeles hairstylist Glenn Ellis, there are only two differences between a French and a classic, three-strand braid: First, the French braid starts at the crown of your head (whereas a classic braid usually starts above the nape of your neck). Second — and this is what gives it its dreamy silhouette — is how you continuously weave more hair into it as you move from the top of your crown toward your ends.
Once you’ve mastered how to create a single French braid, Emmily Bowman, founder of mobile hair-braiding company Braidbabes, suggests trying more unique ways to wear it. Consider twisting your braid into a bun, wearing two as pigtails, or weaving them into half-up hairstyles.
But before considering more complicated styles, learn how to create a French braid on your own hair in just five steps. Beginners, you’ll ace this lesson, as there’s little finesse — and zero conjugation — involved.
Meet the experts:
- Emmily Bowman is the founder and CEO of Braidbabes, a mobile hair-braiding company based in Buffalo, New York.
- Glenn Ellis is a Los Angeles-based hairstylist with clients including Olivia Wilde, Sara Paulson, and Meg Ryan.
- Ryan Trygstad is a hairstylist and co-owner of Mark Ryan Salon in New York City.
- Nathaniel Hawkins is a New York City-based hairstylist.
How to French Braid Your Hair
Tools You’ll Need
- A hair elastic
- A comb
- Texturizing spray
- Hairspray
- Bobby pins
Step 1: Prep your hair.
The first step to French braiding is as easy as it gets: “Comb your hair so that it’s tangle-free,” says Ellis. And don’t worry about washing it beforehand, as unwashed hair provides the best hold for braids, according to Bowman. However, if you insist on washing your hair before styling, she recommends spritzing the Puff.Me Dry Texturizing Spray by DesignMe from your roots to your ends to give your hair the grit it needs to hold the French braid’s shape.
Step 2: Section your hair.
Then, “beginning at the hairline, gather your hair into a triangular section that includes hair from just above your temples and extends towards the crown area,” Ellis says. After that, separate this large section of hair into three smaller ones which will be the strands you’ll use to braid.
Step 3: Start your braid.
Take the left section of hair and cross it over the center, as you would with a traditional three-strand braid. Repeat this step with the right section. After completing these initial crossovers on both sides, you can start incorporating hair from the outside of the braid to begin weaving your French braid, says Bowman.
Step 4: Grab hair as you go.
Continue the same method, but start adding small sections of hair from both sides. “It’s important not to take more hair than you can manage as you always want to be in full control of each step,” says Ryan Trygstad, hairstylist and co-owner of Mark Ryan Salon in New York City. Nathaniel Hawkins, a New York City-based hairstylist, suggests picking up half-inch sections of hair to keep the braid balanced.
Mastering the hand positioning can be one of the most challenging aspects of French braiding. While everyone has their preferred approach, you might find it helpful to hold all three strands with one hand strategically. Doing so will free up your other hand, allowing you to pull more hair into the braid evenly and efficiently.

